
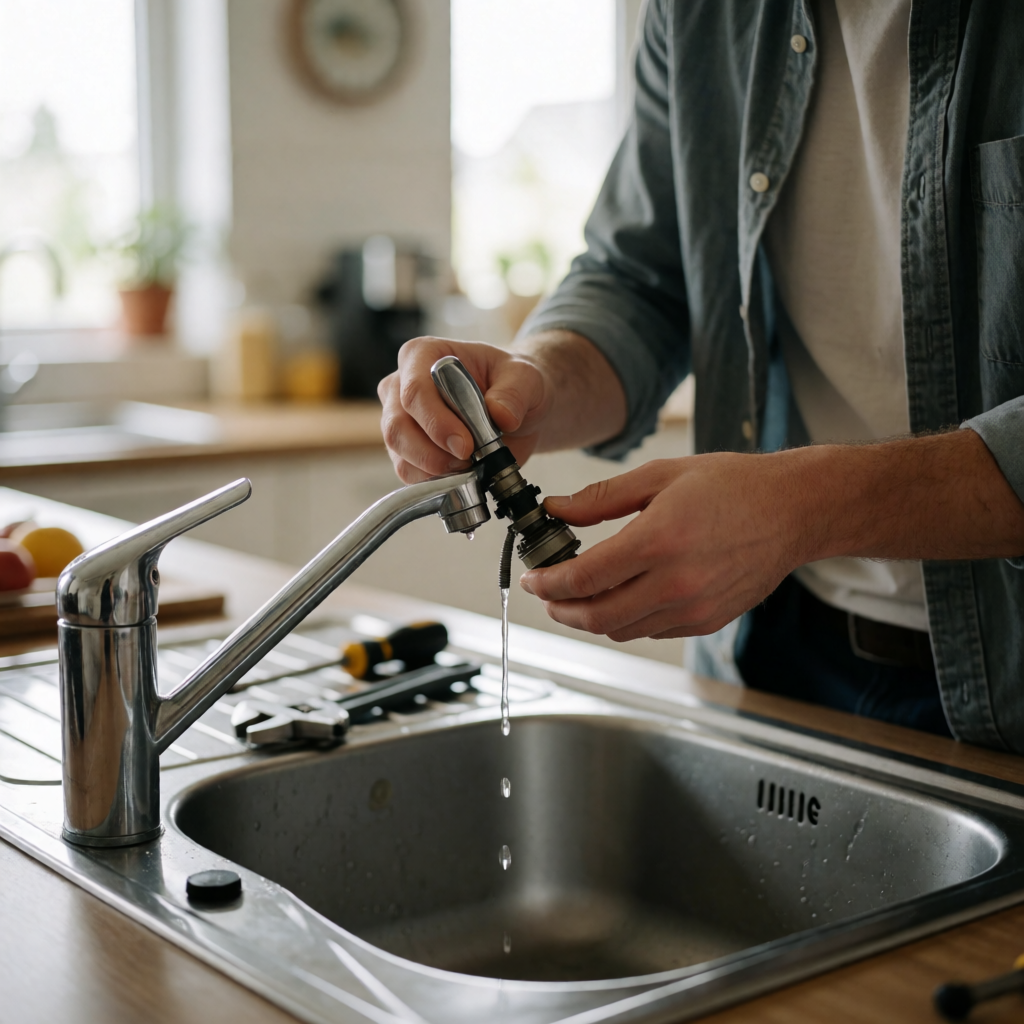
A faucet that keeps dripping after you turn it off may seem like a minor annoyance, but it should not be ignored. Even a slow drip adds up over time. The U.S. Environmental Protection Agency notes that a faucet dripping once per second can waste more than 3,000 gallons of water in a year.
The good news is that many faucet leaks come from a worn internal part that can be replaced without changing the entire faucet.
Problem: The Faucet Keeps Dripping After You Turn It Off
The first thing to notice is where the water is coming from.
If water continues to fall from the end of the faucet spout, the problem is usually inside the faucet itself. A worn washer, cartridge, O-ring, or another sealing component may no longer be stopping the water completely.
A different situation occurs when water appears around the faucet base, handle, or underneath the sink. That can point to a damaged seal or a connection that is leaking rather than a problem with the faucet’s internal shutoff mechanism.
Knowing the location of the water will make the repair much easier to diagnose.
Causes: What Could Be Making the Faucet Drip?
Several problems can produce a similar-looking drip.
A worn washer
Older two-handle faucets often use a rubber washer to close the water passage. With repeated use, the washer can become hard, damaged, or compressed enough that it no longer seals correctly.
A damaged cartridge
Many modern single-handle faucets use a cartridge to control water flow and temperature. A worn cartridge can allow a small amount of water to pass even when the handle is in the OFF position.
A damaged O-ring or seal
Small rubber seals can deteriorate over time. Depending on the faucet design, a damaged O-ring may cause water to escape around the handle or faucet body.
Mineral buildup
Calcium and other mineral deposits can collect around internal components or the aerator. Heavy buildup can interfere with normal operation and may contribute to poor sealing. WaterSense recommends periodically checking faucets for scale and cleaning buildup when necessary.
A loose or damaged connection
If the water is coming from underneath the sink or around the faucet base rather than the spout, the issue may be a connection, gasket, or supply-line fitting.
Simple Checks: Find Out Where the Water Is Coming From
Before taking anything apart, spend a minute locating the leak.
1. Dry the faucet
Use a dry cloth around the spout, handles, base, and sink area.
2. Leave the faucet turned off
Watch it for a few minutes.
If drops form at the end of the spout, the internal faucet mechanism is the main suspect.
3. Check around the handle
If water appears around the handle while the faucet is off or being operated, an O-ring, seal, or cartridge may be involved.
4. Look underneath the sink
Use a flashlight and check the supply connections and the area directly below the faucet.
Water underneath the sink should not be confused with a normal spout drip. A connection leak may require a different repair.
5. Check the aerator
If the faucet is dripping or the water flow has become uneven, unscrew the aerator from the end of the spout if your faucet allows it. Look for mineral deposits or debris.
Do not assume that cleaning the aerator will solve a true shutoff leak. An aerator affects the water leaving the faucet; it does not normally control whether the faucet shuts off.
DIY Solution: Repair the Faucet
The exact repair depends on the faucet design. Before removing any part, identify the faucet model if possible. Having the model number can make it much easier to find the correct replacement part.
Step 1: Shut off the water
Close the small shutoff valves underneath the sink.
Turn the faucet on briefly afterward to release pressure and confirm that the water has stopped.
If you cannot find or operate the local shutoff valves, use the home’s main water shutoff instead.
Step 2: Protect the sink
Put a cloth over the drain opening or install the sink stopper.
Small screws, clips, and other parts are easy to lose down an open drain.
Step 3: Remove the handle
Many faucet handles have a small decorative cap hiding the retaining screw. Others use a visible screw or set screw.
Remove the appropriate screw and lift the handle away carefully.
Do not force the handle if it is stuck. Mineral buildup or corrosion may have made the parts difficult to separate.
Step 4: Identify the internal part
Once the handle is removed, look at the mechanism underneath.
A two-handle faucet may have a stem and washer arrangement. A single-handle faucet may contain a cartridge, ball assembly, or ceramic-disc mechanism.
Take a photo before removing anything. It gives you a reference when putting the faucet back together.
Step 5: Replace the worn component
For a washer-style faucet, replace the damaged washer with the correct size and type.
For a cartridge-style faucet, remove the retaining clip or nut as required by the design and install the matching replacement cartridge.
If an O-ring is damaged, replace it with the correct size and a seal intended for plumbing use.
Do not choose a replacement part based only on appearance. Two cartridges can look almost identical while being incompatible with each other.
Step 6: Clean away visible buildup
If mineral deposits are present, clean the accessible area carefully.
Avoid scratching sealing surfaces. A damaged surface can create another leak even after a new seal is installed.
Step 7: Put everything back together
Reinstall the internal parts, retaining hardware, and handle in the same order they came out.
Turn the water supply back on slowly.
Step 8: Test the faucet
Open and close the faucet several times.
Watch the end of the spout, around the handle, at the faucet base, and underneath the sink.
If the drip has stopped and no new leak appears, the repair is complete.
For additional leak-prevention information, the EPA’s WaterSense program has a useful guide covering common household faucet and plumbing leaks. EPA WaterSense: Fix a Leak
What Not to Do
Do not start by tightening everything
A faucet that drips from the spout usually has an internal sealing problem. Tightening the visible handle or other external parts may not solve it.
Do not force a stuck component
Corrosion and mineral deposits can make faucet parts difficult to remove. Excessive force can damage the faucet body or leave you with a much larger repair.
Do not replace random parts
Find the faucet model or take the old component with you when buying a replacement. The wrong cartridge or washer can leave the faucet leaking.
Do not ignore water under the sink
A slow leak at a connection can damage the cabinet and surrounding materials. WaterSense recommends checking faucets and pipe connections for signs of leaks and addressing them promptly.
Do not leave the water supply fully open while taking the faucet apart
Always shut off the supply before removing internal components.
When to Call for Help
A dripping faucet is often a reasonable DIY repair, but some situations are better left to a plumber.
Get professional help if:
- The shutoff valve will not close properly.
- The faucet body is cracked or badly corroded.
- You cannot remove a seized internal component without damaging the faucet.
- Water is leaking heavily from underneath the sink.
- A supply connection continues leaking after you have checked it.
- The leak appears to come from inside the wall or countertop.
- You replaced the suspected component but the faucet still leaks.
- You are unsure which replacement cartridge or valve assembly the faucet requires.
If the faucet is very old and several parts are worn, replacing the entire fixture may make more sense than continuing to repair individual components. EPA WaterSense also recommends considering replacement when a leaking fixture cannot be repaired effectively.
Quick Checklist
Before finishing the repair, check these points:
- I found exactly where the water is coming from.
- I shut off the water before opening the faucet.
- I identified the faucet type.
- I checked the washer, cartridge, seal, or O-ring as appropriate.
- I replaced the damaged component with the correct part.
- I cleaned away accessible mineral buildup.
- I turned the water back on slowly.
- I tested the faucet several times.
- I checked underneath the sink for new moisture.
Bottom Line
A dripping faucet does not always mean that the entire fixture needs to be replaced. In many cases, the problem is a worn washer, cartridge, O-ring, or seal that can be changed by a homeowner with a few basic tools.
Start by finding exactly where the water is escaping. Once you know whether the drip is coming from the spout, handle, base, or connections underneath the sink, choosing the right repair becomes much easier.
Fixing the leak sooner is also worth doing for the water you would otherwise lose. A small drip may not look serious, but repeated drops can add up to thousands of gallons over a year.