
My Toilet Keeps Running: How to Find the Problem and Fix It
That constant hissing from the bathroom can be easy to ignore, especially when the toilet still flushes normally. But if the sound continues long after you have finished flushing, something inside the toilet is allowing water to move when it should have stopped.
The good news is that you can often find the cause without removing the toilet or calling a plumber immediately.
A few minutes of observation can tell you much more than replacing parts at random. The goal is to determine whether the water is escaping from the tank into the bowl or whether the tank itself is receiving more water than it should.
Problem: The Toilet Keeps Making Noise After a Flush
A toilet normally needs a short period to refill after flushing. Once the tank has reached its normal level, the incoming water should stop.
When that does not happen, the toilet is essentially replacing water that is going somewhere else.
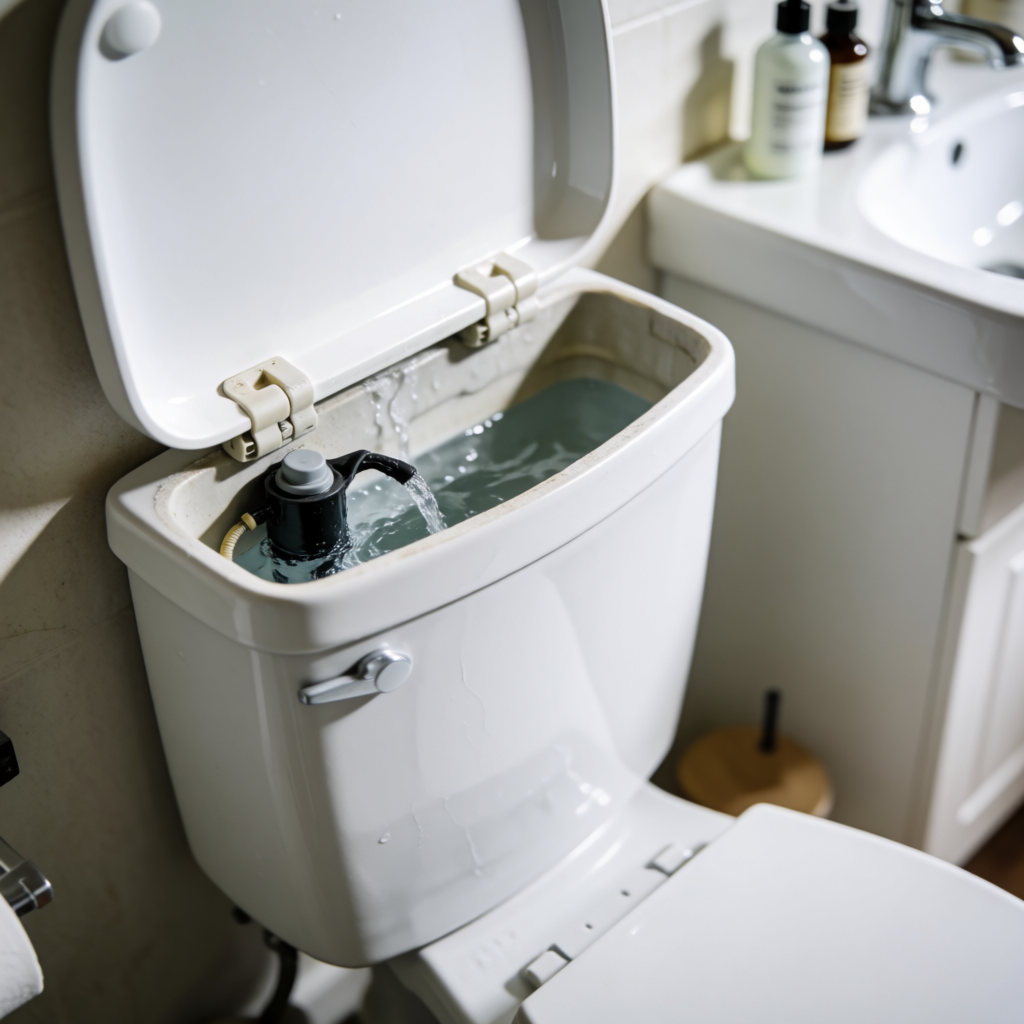
Sometimes you can actually see the problem. There may be a thin stream entering the bowl, or water may be spilling into the vertical tube inside the tank.
In other cases, nothing looks unusual until you perform a simple test.
Before touching anything, listen to the toilet for a minute after flushing. Then remove the tank lid and watch the mechanism while the tank refills.
That simple observation can help narrow the problem down considerably.
Causes: What Can Make the Water Keep Moving?
The inside of a toilet tank contains several relatively simple mechanisms. They do different jobs, but a problem with one component can affect the entire refill cycle.
1. The rubber seal at the bottom is worn
At the bottom of the tank is a rubber seal that opens during a flush and closes afterward.
Its job is straightforward: keep the tank water from continuing into the bowl once the flush is complete.
Rubber does not last forever. It can become hard, distorted, brittle, or coated with deposits.
When the seal no longer sits tightly against its opening, water slowly slips through.
The toilet senses the falling water level and adds more water. That cycle can continue almost indefinitely.
2. The flush chain is interfering with the seal
The handle inside the tank is connected to the flushing mechanism by a small chain or similar linkage.
That connection needs to allow the seal to return fully to its resting position.
If the chain has become twisted, caught underneath another component, or adjusted with almost no slack, it can hold the seal slightly open.
This is worth checking before buying a replacement part because correcting the chain may be all that is necessary.
3. The tank is filling beyond its intended level
There is another possibility that has nothing to do with a leaking bottom seal.
Watch the water as the tank fills.
If the level keeps climbing instead of stopping at its normal point, excess water can enter the overflow tube and travel into the bowl.
In this situation, the mechanism responsible for filling the tank may need adjustment or replacement.
The EPA’s WaterSense program recommends checking that the water level remains below the top of the overflow tube. EPA WaterSense — Residential Toilets
4. The filling mechanism is wearing out
The part that lets fresh water into the tank has to shut off once the correct level is reached.
As it ages, it may begin to hiss, cycle repeatedly, or continue allowing water into the tank.
If changing its adjustment does not make a difference, replacing the complete filling mechanism may be easier than trying to repair an old one.
5. Deposits are preventing a good seal
Mineral deposits can accumulate around moving or sealing parts, particularly in areas with hard water.
A small amount of buildup may prevent two surfaces from meeting properly.
If cleaning restores normal operation, you may have solved the problem. If the rubber itself has deteriorated, cleaning will not bring it back to its original condition and replacement is usually the better option.
Simple Checks: Watch the Toilet Before Touching It
You do not need to dismantle the toilet to begin troubleshooting.
In fact, it is better to observe first.
Start with the tank lid
Lift the lid carefully and place it somewhere secure.
Flush once and watch the entire refill process.
Do not concentrate on one component yet. Simply observe what the water and mechanisms are doing.
See where the refill stops
As the tank fills, pay attention to the final water level.
Does the incoming stream stop?
Or does water continue flowing after the tank appears full?
If water is disappearing over the top of the overflow tube, the problem is likely related to the refill mechanism or its adjustment.
Watch the bottom seal
During the flush, the rubber seal should lift.
Afterward, watch it settle back down.
Look for anything unusual:
- It sits at an angle.
- It does not fully return to its seat.
- It looks cracked or deformed.
- The chain remains under tension.
- Water continues passing into the bowl.
You are looking for the reason water is able to escape, not simply for a part that looks old.
Try the handle gently
After the toilet has stopped—or appears to have stopped—move the handle slightly.
If the running sound changes when you touch the handle, the linkage may not be returning correctly.
Do not force it. A handle or internal mechanism that feels unusually stiff may need attention rather than additional pressure.
Use a simple color test
Some leaks are too small to see easily.
For a basic test, add a few drops of food coloring to the water sitting in the tank. Do not flush the toilet.
Wait approximately 10 minutes.
Then inspect the bowl.
If the colored water has reached the bowl, water is escaping from the tank even though you did not flush.
This is a useful way to confirm a slow leak when the toilet does not make an obvious noise. The EPA also recommends dye testing as a way to identify toilet leaks.
Once the test is finished, flush the toilet to clear the coloring.
DIY Solution: Start With the Easiest Repair
Once you know what is happening, choose the smallest repair that addresses the actual cause.
There is no advantage in replacing several parts when one simple adjustment will solve the problem.
If the chain is the problem
Look at the chain connecting the handle mechanism to the rubber seal.
It should not be wrapped around another component or pulled tightly when the handle is at rest.
If it is tangled, carefully free it.
If it is excessively tight, adjust the connection so the seal can settle completely when the handle is released.
Flush the toilet a few times and watch the mechanism again.
If the water level is too high
Some toilets have an adjustable float or another mechanism for setting the refill level.
Make a small adjustment and allow the toilet to refill.
Then check the final water level again.
The objective is to have the toilet stop filling before water reaches the overflow tube.
If the water keeps rising despite a reasonable adjustment, the filling mechanism may be failing.
If the rubber seal is leaking
A worn seal is usually inexpensive and relatively simple to replace.
Before beginning, locate the small water shutoff valve near the toilet.
Turn it clockwise to stop the supply.
Flush the toilet to remove most of the water from the tank.
The old seal can then be disconnected from its mounting points and removed.
When purchasing a replacement, do not rely only on appearance. Toilet manufacturers use different designs, and some toilets require a particular replacement part.
Install the new seal according to the manufacturer’s instructions.
Reconnect the chain and restore the water supply slowly.
Allow the tank to fill and flush several times.
Check that the new seal drops into place properly and that the water stops when the refill cycle is complete.
If the filling mechanism will not shut off
When adjustment does not solve the problem, replacing the fill mechanism may be the next practical step.
The exact installation varies between models, so follow the instructions supplied with the replacement component.
The general process involves shutting off the water, emptying the tank, disconnecting the water supply, removing the old mechanism, installing the new one, and setting the appropriate water level.
Take your time with the connection underneath the tank. This is one place where rushing can turn a small toilet repair into a water leak.
What Not to Do
A running toilet is usually not an emergency, so there is little reason to rush.
Avoid these common mistakes:
Do not keep pushing the handle. If the mechanism is sticking, repeated force can damage it further.
Do not immediately replace every component inside the tank. Identify the faulty part first.
Do not assume every rubber seal is interchangeable. Check the toilet model or compare the old component carefully with the replacement.
Do not over-tighten plastic connections. Excessive force can damage fittings that were designed to be tightened by hand.
Do not leave the toilet running for days because the leak seems minor. A small amount of water repeated continuously can add up.
Do not pour aggressive cleaning chemicals into the tank to solve a mechanical problem. Some chemicals can deteriorate rubber and other internal components.
Do not ignore water appearing around the bottom of the toilet. A tank problem and a leak at the base are two different issues and may require different repairs.
When to Call for Help
A basic running-toilet repair is often manageable for a homeowner.
There are situations, however, where experimenting with the plumbing is not worth the risk.
Get professional assistance if you discover:
- A crack in the tank or bowl.
- Water escaping onto the bathroom floor.
- A supply connection that will not stop leaking.
- A shutoff valve that cannot close.
- A toilet that moves or rocks at the floor.
- Signs of damage to the flooring around the toilet.
- A concealed toilet mechanism that you cannot safely access.
- A problem that continues after the obvious internal components have been checked or replaced.
If you cannot stop the water and it is actively leaking onto the floor, shut off the toilet’s supply if possible.
Do not continue using a toilet that is causing visible water damage simply because it still flushes.
Quick Checklist
Before buying parts or calling a plumber, run through this list:
☐ Listen to the toilet after flushing.
☐ Remove the tank lid and observe the refill cycle.
☐ Check where the final water level sits.
☐ Look for water entering the overflow tube.
☐ Watch the rubber seal during and after the flush.
☐ Make sure the chain is not twisted or pulling on the mechanism.
☐ Gently test the handle for sticking.
☐ Use a food-coloring test if the leak is difficult to see.
☐ Adjust the water level if the mechanism allows it.
☐ Replace the worn rubber seal if it no longer closes properly.
☐ Consider replacing the filling mechanism if it will not shut off.
☐ Inspect the area around the toilet for visible water.
☐ Stop and get professional help if the problem involves cracks, floor damage, inaccessible plumbing, or an uncontrolled leak.
Bottom Line
A toilet that refuses to stop running is often telling you that water is escaping somewhere it should not.
The most useful first step is to watch what happens inside the tank rather than immediately replacing parts.
If the water level climbs too far, investigate the refill mechanism. If water is quietly making its way into the bowl, inspect the rubber seal and the mechanism connected to it. A dye test can help confirm a leak that is difficult to see.
Some fixes require nothing more than correcting a chain or adjusting the water level. Others involve replacing a worn seal or refill mechanism.
Take the repair one step at a time. If you encounter a damaged toilet, an uncontrolled leak, or a problem involving the floor or hidden plumbing, that is the point where professional help makes sense.
A running toilet may seem like a minor annoyance, but fixing it promptly can prevent unnecessary water waste and keep a small plumbing problem from becoming a larger one.